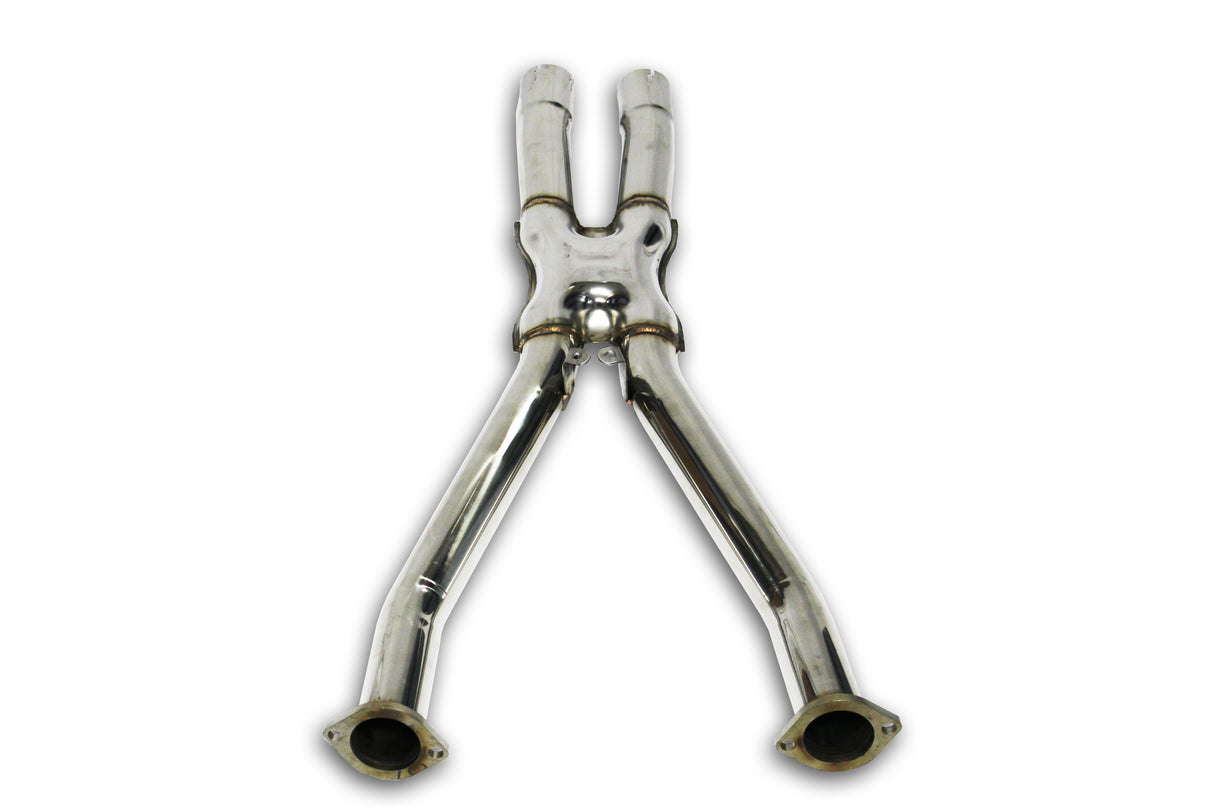
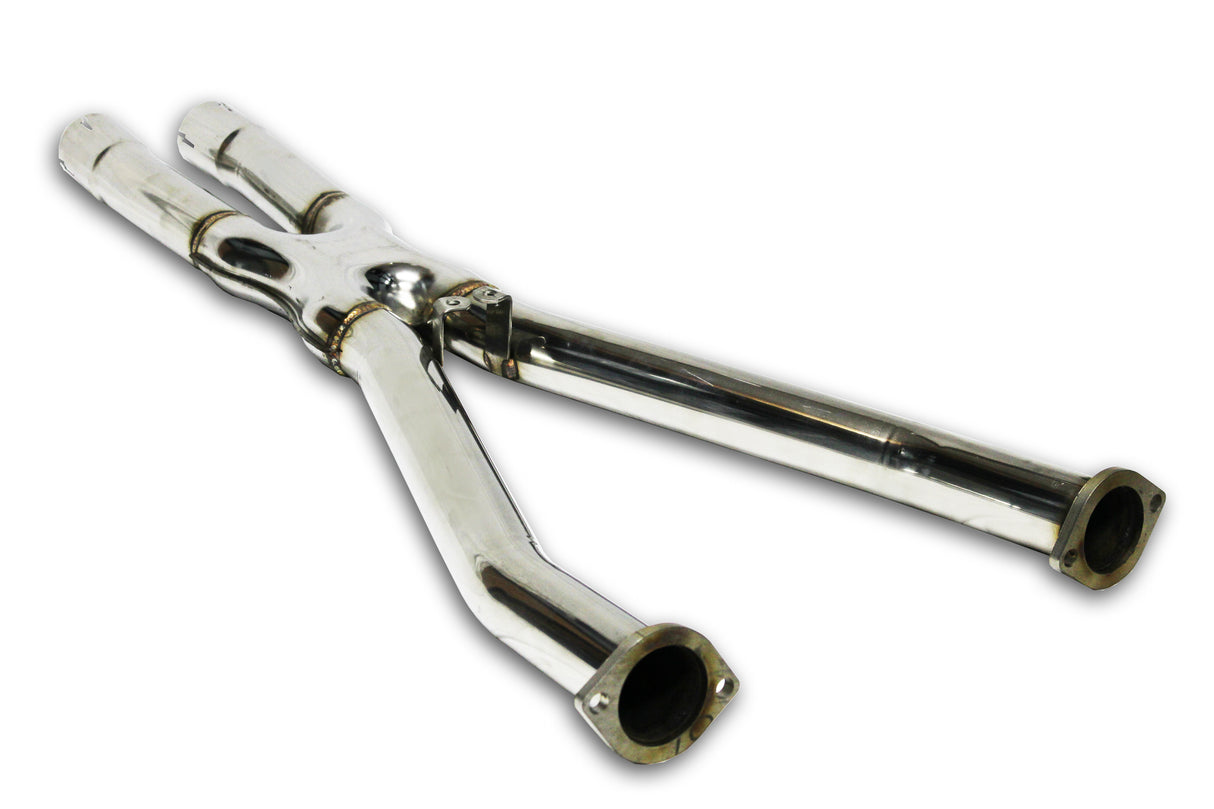
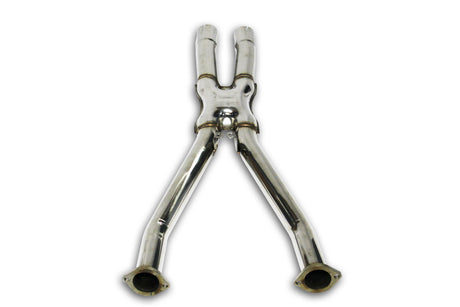
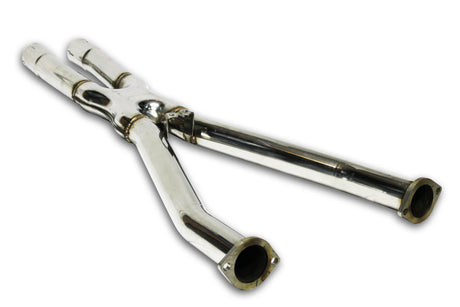
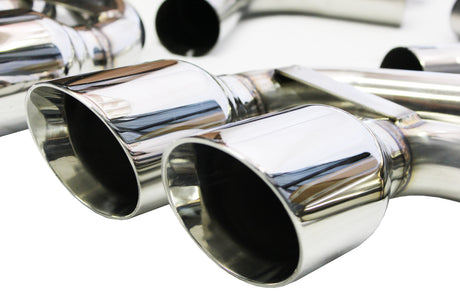
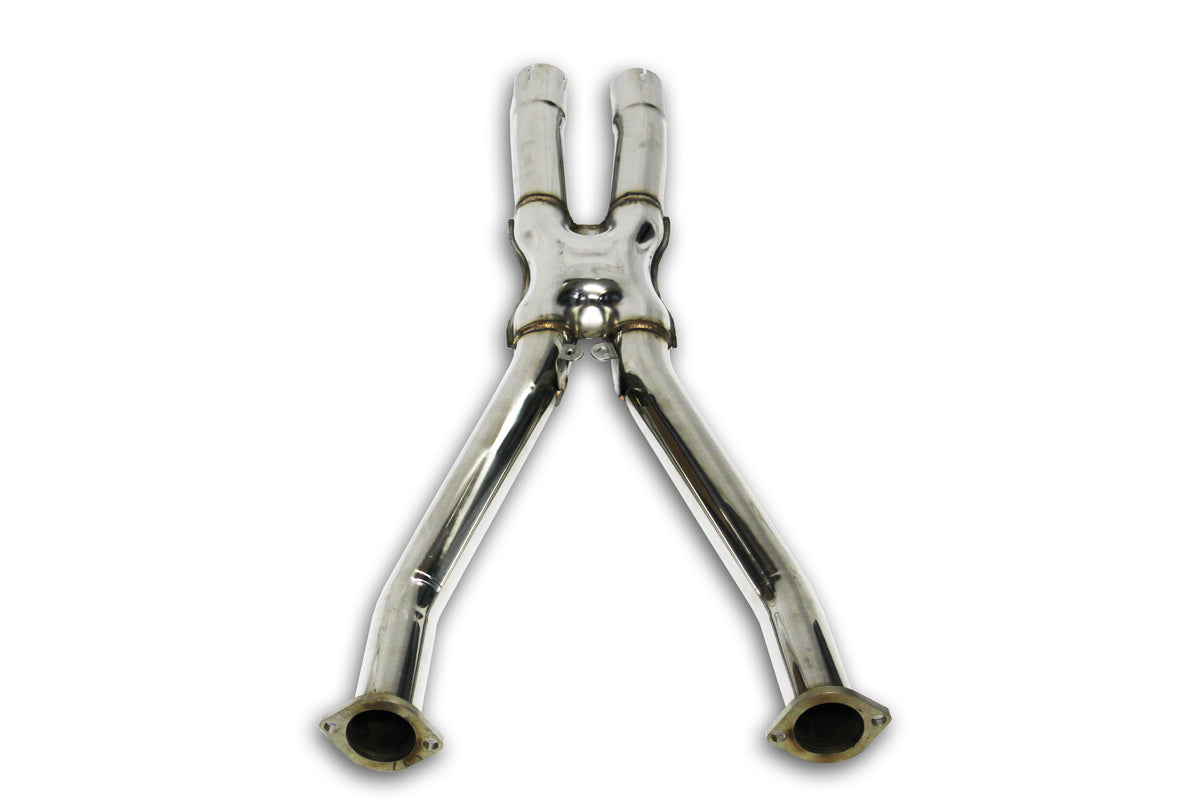
1997-04 Chevrolet C5 Corvette X-Pipe - EX1036
Couldn't load pickup availability
- Full Stainless Steel High Grade T304 Material
- Inlet Size: 2.5 inches
- Gains Up to 8 HP
- 13 LBS of Torque
- Mandrel Bent Mirror Polished Unit
- TIG Welded for Strength
- Superior Visual Appeal
-
Can Be Used with a Stock or Any Aftermarket Exhaust System
- Limited Life Time Warranty
Application Includes:
1997-05 Chevrolet C5 Corvette
1997-04 Chevrolet C5 Corvette X-Pipe - EX1036 is backordered and will ship as soon as it is back in stock.
Care information
Care information
Use mild car/motorcycle soap to clean the exhaust system—do not use any abrasives or degreasers. Clean your exhaust with metal/stainless polish every 1-2 months to retain the luster and remove dirt and grime. Avoid contaminating exhaust surfaces when hot.
Installation Instructions
Installation Instructions
Original H-Pipe Removal
1. Lubricated all hangers, rubber isolators, bolts and nuts.
2. Measure 17-7/8” mark a line and cut on the Left-side from the catalytic converter.
3. Repeat the same proses on the Right-side this time cutting 16-1/2”
4. Loosen and remove (4) bolts located under the transmission at the
rear of the vehicle.
5. Using a 13mm socket, unbolt the spring hangers located in front of
the clamps. Place the bolts aside for use during the installation of
your new X-Pipe system.
6. Using a muffler stand or an additional person to hold the H-pipe assembly and carefully remove from the vehicle.
7. Original H-Pipe removed.
X-Pipe Installation
1. Place a clamp over the expanded end of the X-Pipe assembly, and set it up
into position. Do not tighten the clamp.
2. Using the original hardware insert bolts into the spring hangers and tighten
the bolts.
3. Using the hardware that is provided insert the blots on R/H & L/H side
flanges and tighten the clamps.
4. Check your exhaust system for proper clearance under the vehicle and also
for tip alignment. Starting at front flanges and moving to rear of vehicle,
tighten flange hardware bolts. Orient position of bolt (on supplied clamps)
between (not over) pipe notches and tighten to 35 ft. lbs. torque.
5. Align tips and tighten hardware. Loosen clamps to rotate or slide pipe for
better alignment.
6. Before starting your vehicle, make sure to check all wires, hoses, brake
lines, body parts and tires for safe clearance from the exhaust system.
7. Start vehicle and check for any leaks. If any leaks are found, determine
cause (such as loose or incorrectly positioned clamp) and repair as necessary.
Warranty
Warranty
By installing your NXT STEP PERFORMANCE exhaust system, you indicate that you have read this document and you agree with the terms. It is the responsibility of the purchaser to follow all installation instruction guidelines and safety procedures supplied with your NXT STEP PERFORMANCE exhaust system. NXT STEP PERFORMANCE assumes no responsibility for damages occurring from misuse, abuse, improper installation, improper operation, lack of responsible care, or all previously stated reasons resulting from incompatibility with other manufacturer’s products and/or systems. If you should have any questions regarding our warranty policy, installation, or any other matter pertaining to your new NXT STEP PERFORMANCE exhaust system, contact us via email websales@nxtstepperformance.com
Payment & Security
Payment methods
Your payment information is processed securely. We do not store credit card details nor have access to your credit card information.
1997-04 Chevrolet C5 Corvette X-Pipe - EX1036
Click the + to view our in depth product details
Product comparison grid
View Other Similar Exhausts
